Navigate by Markers
Overview
Map markers are points on the map marked by flags. They can be used for a variety of purposes, such as to indicate a location that you want to visit, a point of interest that you want to remember, or to create a custom route.
They can be particularly helpful for hikers, bikers, or anyone exploring a new area who wants to mark interesting locations or points of reference on the map. Main difference from Favorite points, Markers are faster to create as they don't require a name.
- Android
- iOS
Use Markers in Navigation
- Android
- iOS
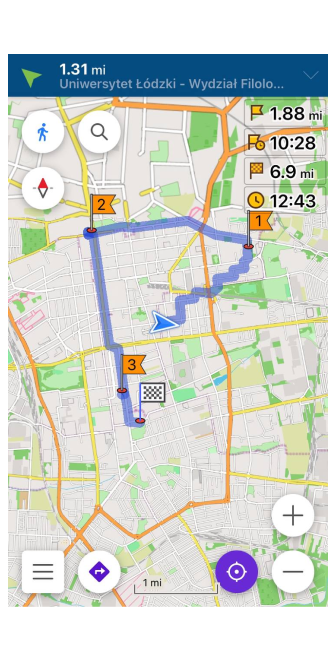
Map markers can serve as destinations while building a route. They are especially convenient when you need to set a route with intermediate points.
However Map markers also provide various functionality such as widgets, direction of movements, lines on the map, so you could use these tools for navigation without building a route line and entering full voice guidance navigation.
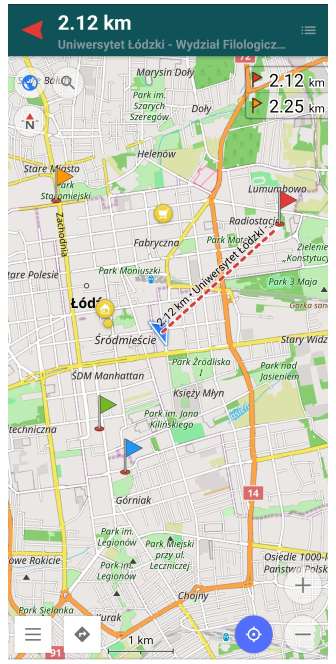
In case you need a simple point to point navigation displayed as straight lines, you can build and sort Itinerary list consisted of markers as intermediate points and use widgets for simple navigation.
Recommendations
Here are simple recommendation steps to Navigate by markers:
- Create markers. Find the desired object(s) on the map, tap it, and choose the Marker button in the map context menu. You can also make markers from favorites or GPX tracks.
- Sort markers in preferred way you want to pass them
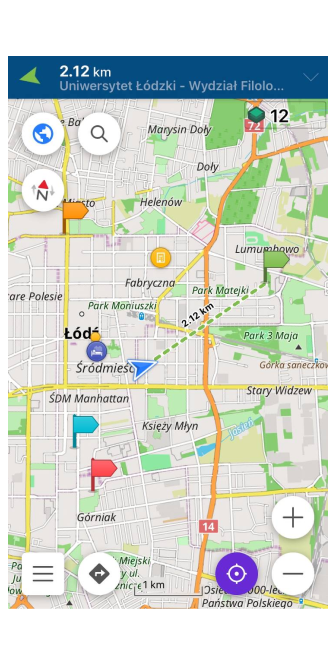
- Customize Map markers view if you would like to use Markers without starting Navigation. Enable Arrows on the map and Direction line options in the Appearance section of Map markers menu.
- Add Markers widgets in Configure screen menu (optional).
- Mark as passed already visited markers or restore them from the history if you want to pass them again.
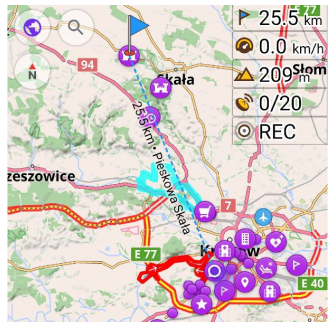
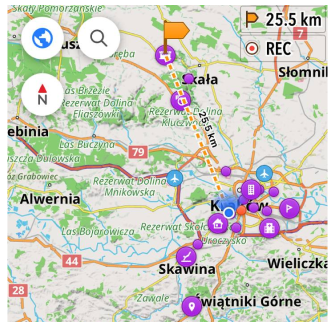
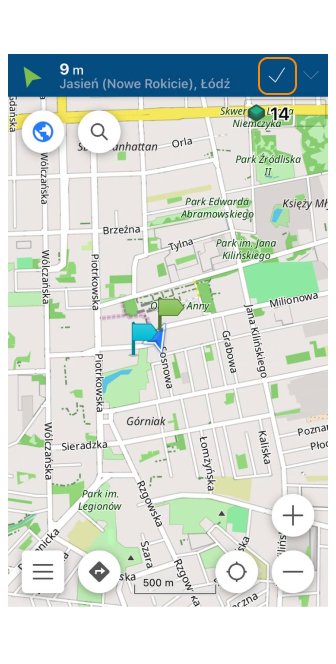
When Arrows on the map and Direction line options are enabled in Appearance section of Map markers menu, you will see an arrow or dashed line on the map. The arrow shows the direction to the active marker when it is outside the current map screen. Direction line is drawn when your geolocation and marker are both on the same screen.
Itinerary List
- Android
- iOS
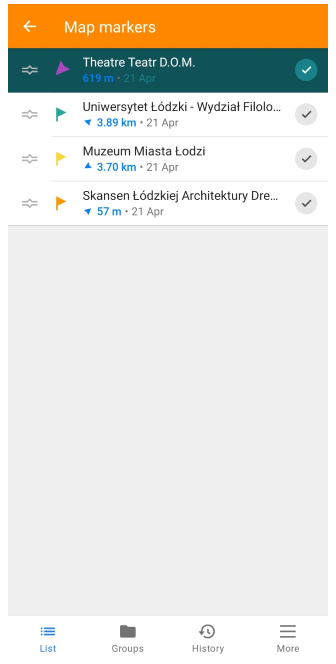
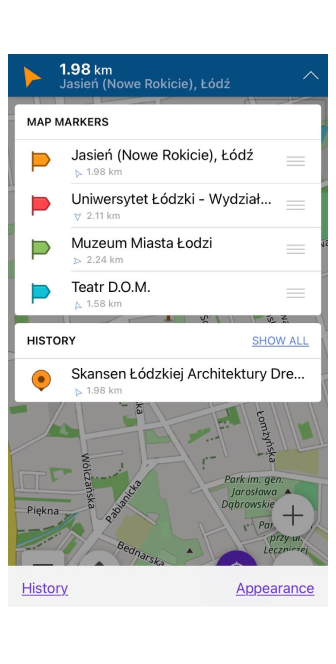
Itinerary list represents an ordered list of passable markers that are visible on the map. You can add and delete points one by one or do it in batch using prepared in advance GPX file or Favorite group. For local competitions or adventure it might be useful to create a list points from coordinates using Coordinate input tool.
Add Single Markers
Markers can be added or deleted from the map by single tap the screen at the desired location. Then you need to follow instructions from the map context menu article.
Add Group of Favorite
This feature is currently not available for the iOS version of the OsmAnd app.
You can create Map markers from Favorites using:
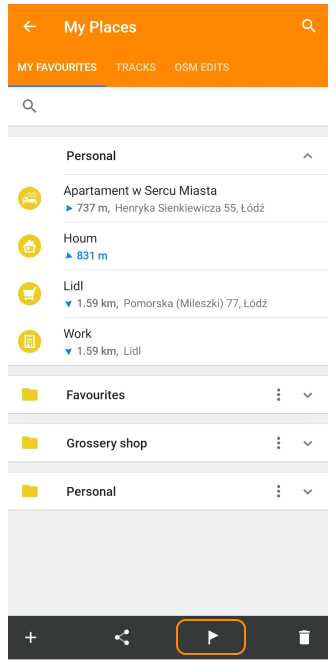
- Favorites groups menu (Menu → My Places→My Favorites).
- 🚩 icon in the Favorites in-page menu (Menu → My Places→My Favorites→🚩).
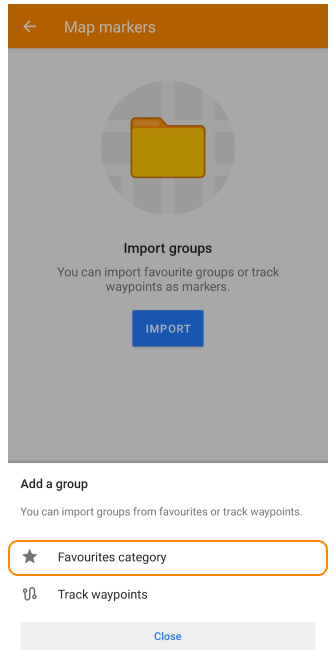
- '+' (add) option in Groups tab in Map markers menu (Menu → Map markers → Groups→+).
Add Group of Track Waypoints
This feature is currently not available for the iOS version of the OsmAnd app.
GPX tracks with waypoints can be used as Map markers and quickly switched off:
- Use '+' (add) option in Groups tab in Map markers menu (Menu → Map markers → Groups→ +).
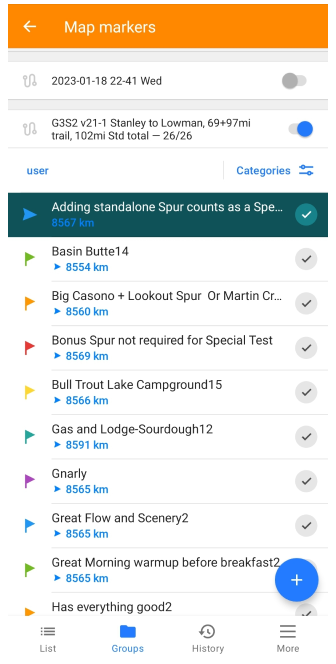
- Turn on switch near track in Groups tab in Map markers menu (Menu → Map markers → Groups→ +).
Only tracks with waypoints can be added to the Map markers list. The track you intend to add should also be visible (active) on the map.

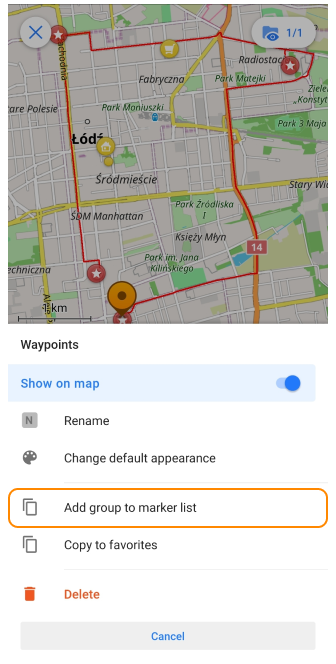
- You can also create Markers from a track with waypoints using track context menu: Tap a visible track on the map → in the track context menu choose Points → '⋮' → Add group to marker list
Sort Markers
- Android
- iOS
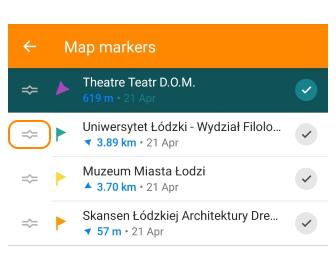
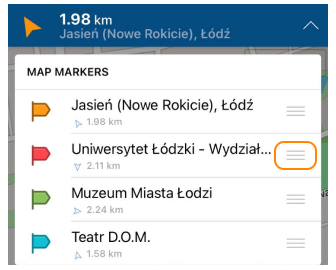
Pressing on a left corner (Android) or right corner (iOS) of a Map marker tab in Map markers list and moving it up or down, you can change its order in Navigation list (while moving a marker card you will see a line indicating where the marker will be placed).
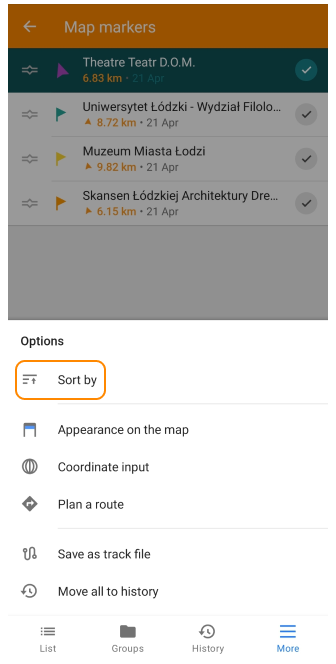
In Android version of the OsmAnd app, there are other sorting options for Map markers (Menu → Map markers → More… → Sort by or Plan a route).
Sort by Attributes
- Android
- iOS
This feature is currently not available for the iOS version of the OsmAnd app.
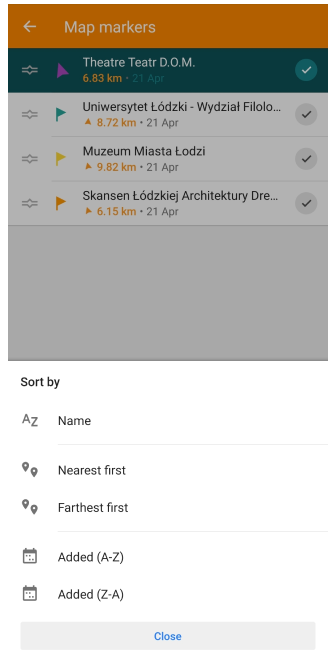
You can sort Markers by:
- Name (alphabetically) — If markers have descriptive names, this can be a useful way to quickly find the marker you are looking for.
- Distance (nearest or farthest first) - This option will sort the markers by their distance from your current location.
- Date (recently or a long time ago) - This will sort the markers by the date they were added. If you have added a lot of markers over time, this can be a useful way to see which ones are the most recent.
Reorder with a Plan Route Tool
This feature is currently not available for the iOS version of the OsmAnd app.
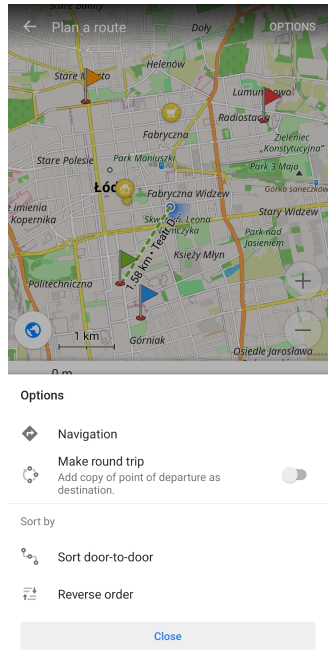

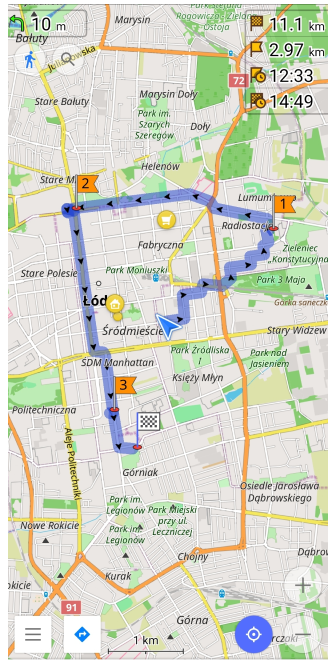
Using functionality of the Plan a route in Markers list tool you can sort Markers Door-to-door, put them in reverse order or create a Round trip. If you tap a Navigation option, Markers will be used as intermediate destinations.
Pass Markers
- Android
- iOS
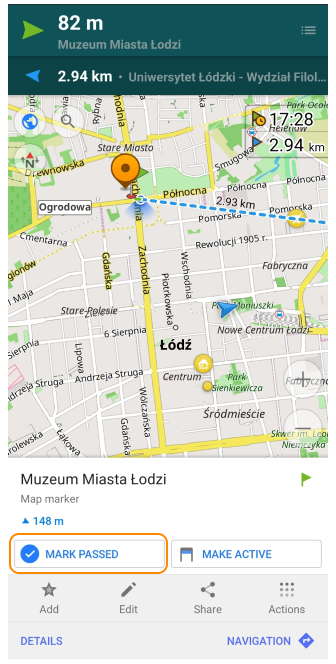
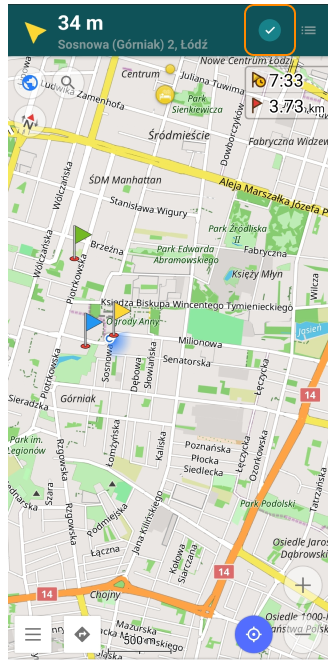
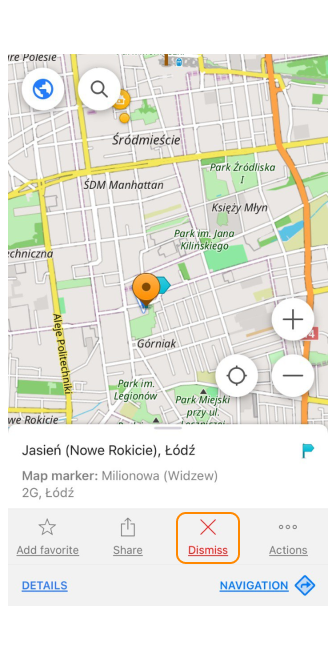
A Marker can be marked as passed (Android) or dismissed (iOS).
- Through the map context menu.
- When you approach a Marker at a distance closer than 40 meters (Android) or 50 meters (iOS), a switch in the Markers widgets bar becomes active.
After passing a Marker, it moves to the History folder, from where it can be restored if needed. The next marker in the list became active. Depending on your settings, you may be guided to it with an arrow or dashed line.